
Order Includes:
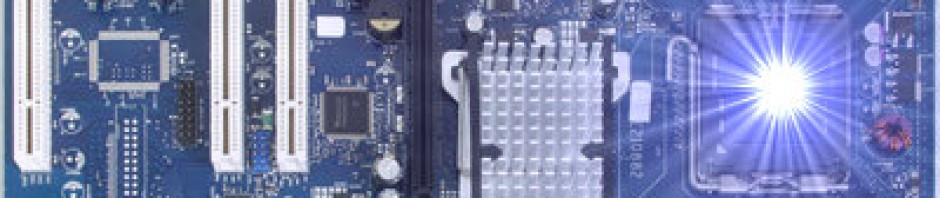
- The Pico2000 Zoneminder Compatible 4 port video capture card (PCI)
- The ZMLarch 1.24.2-1 live CD installation disk (latest Zoneminder version available to date)
- Free shipping (within the continental U.S.)
Using the Pico2000 compatible video capture card installed in your computer, you will have a fully functional 4 port (meaning 4 analog camera capable connections available) Zoneminder video surveillance system up and running in less than an hour. The card is capable of capturing the recorded video at 30 fps (frames per second), however when you have all 4 ports connected with 4 analog cameras recording video, you will capture at approx. 2 fps, per camera. This will be satisfactory for most video surveillance applications. Here is the specifications on the card:
- Compression: MPEG4
- Display Resolution: 352 x 240 (NTSC)
- Screen Display: 1/4/7/10/13/16 multi-view or full screen
- Multiple cards allowed as per your PCI slot allocation
- Minimum PC capability: Pentium III 800 MHz or equivalent (Video capture cards are most compatible with Intel chipset based motherboards. Other brand chipsets may have some compatibility issues)
- 30 FPS (degrades as the channels are utilized; expect ~2 FPS with all four channels capturing)
The base computer setup for this system:
- Pentium III 800 mhz with 512 megs of ram
- The hard drive was a 20 megabyte drive
- A Pico2000 4 port analog video capture card
- 4 analog video cameras
- The ZMLarch 1.24.2-1 live CD distribution of Zoneminder (by far the easiest way to set up Zoneminder)
Note: IP and analog cameras can be used with Zoneminder, however I choose to use analog cameras with the systems I build because of the lower cost per camera (starting at approx. $30+, depending on quality and inferred night vision, check out Purchasing CCTV Cameras), and there is no added overhead of bandwidth use to your network since the video is sent to the computer via the video cable and not your network cable.
Basic Pico2000 and ZMLarch Setup
Step One – Installing the 4 port analog video capture card
Place the Pico2000 video capture card in a pci slot on the computer motherboard. (If this is not something that you are familiar with doing, there will be an instructional video to show you how this is done. It really is quite simple to do, and takes of all a few minutes to do). Once installed and fastened to the computer, button up the computer.
Step Two – Burn the ISO image of ZMlarch 1.24.1 onto a CD
Download the ZMLarch ISO file from ZMLarch 1.24.2-1 live CD . After downloading the image file (ISO), burn the ZMLarch ISO file to a CD. After doing so, place the CD in Zoneminder computer you have set up and then boot the computer directly from this CD.
Step Three – Boot Up The ZMLarch live CD
After the CD has booted, you will be at the desktop of ZMLarch. You can either install the system on your hard drive by clicking on “Install Arch Linux” or you can just test Zoneminder off the ZMLarch CD. If you want to test your connected camera system and Zoneminder software first, click at the bottom left of your screen and click on Zoneminder (in black lettering), then ZM console.  You then should be presented with the web page gui where you add your cameras and camera setting such as recording all the time or only during movement or motion events and a variety of other settings.
 I have given you a very quick and basic way of getting you up and running with Zoneminder on a computer. If you need anymore information on Zoneminder, go to the home page at www.Zoneminder.com There they have a long-established forum for all your questions and additional needs.